
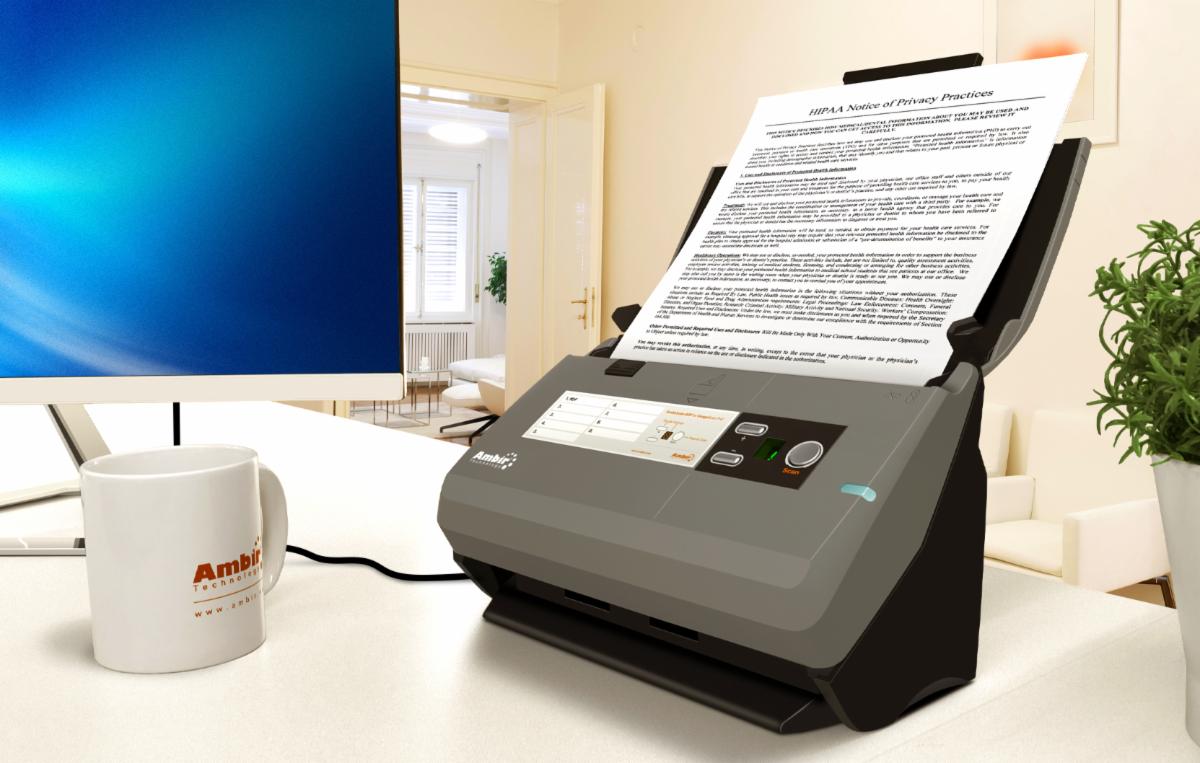
How to Clean and Calibrate Your Scanner


To ensure that your scans are as crisp and precise on the 1,000th scan as they were for your first, some upkeep will be needed. By regularly calibrating and cleaning your scanner, you can avoid a decline in overall image quality and extend the lifespan of your device. Proper maintenance does not have to be time consuming or challenging. In fact, it is actually a pretty straightforward process. Follow our tips below to get the most out of your scanner and keep it functioning for years on end.
We recommend that the average user calibrate their scanner once every three months. For users with a higher volume of daily scans, a calibration may be needed as often as once a month. If your scans are still not coming out properly, cleaning may be necessary. Generally, the best indicator of a needed cleaning will be the appearance of any black streaks, or if your auto-crop/auto-size functions stop working on scans. Read more below for instructions on calibration, cleaning your scanner, and the benefits of using our maintenance kit.
Calibration
Depending on your type of scanner and software, the calibration process will vary slightly. Below are the instructions for AmbirScan, athenahealth, and ADF users.
AmbirScan:
- Open AmbirScan
- Deselect Auto Scan (Note: when deselected, circular arrows will be displayed on the button)
- Click on Settings on the left side menu
- Insert your calibration sheet
- Select Calibration
- Follow the onscreen prompts to complete calibration
AmbirScan for athenahealth software:
- Right click on the AmbirScan for athenahealth icon in your system tray
- Select Show
- Turn off Auto Scan
- In the top left corner, click the circle with the AmbirScan logo
- Click Settings
- At the bottom of the left column, click Calibrate
- Follow the on-screen prompts
ADF:
- Click the Start button or Windows icon on the lower left side of the computer screen
- Open the folder corresponding to the scanner name listed on the front of your scanner (ex: Ambir ImageScan Pro 820ix)
- Click Calibration Wizard in the folder
- Follow the on-screen prompts
If calibration does not fix your scan quality, we recommend that you try cleaning the scanner. For more information on how to calibrate your device, along with other commonly asked questions, check out our FAQ page here.
Cleaning
Like calibration, your cleaning method will vary depending on your scanner model. Our sheetfed models are broken down into two categories: IX Series and Non-IX Series. Look at your model/sku number to figure out whether you have an IX, non-IX or ADF scanner before cleaning.
Non-IX Series Scanners:
- Lightly spray a lens cleaning solution on your cleaning sheet
- Open the AmbirScan
- Click on Settings in the left side menu
- Place the cleaning sheet in the scanner
- Select Cleaning
- Click OK to finish
IX Series Scanners*:
- Gently open the scanner top
- Lightly spray a lens cleaning solution on the lens
- Wipe the cleaning solution off the lens with the cleaning cloth provided
*Excludes PS667ix. Please follow non-IX series cleaning instructions for PS667ix models.
ADF:
- lightly spray the scanner cleaning solution onto the cleaning cloth
- gently wipe the inside of the scanner, including the rollers
If you do not have cleaning solution available, you may also use rubbing alcohol. Do not use water to clean your scanner.
Note: If you do not have our cleaning spray, place a few drops of rubbing alcohol on the sheet. If you do not have the cleaning cloth that came with your scanner, please use a lint-free cloth instead.
Our Ambir maintenance kits are designed to make the cleaning and calibration process simple and effective for our users. The kits include everything you need to care for your scanner and are designed to pair with specific models for optimal use. Our standard sheetfed scanner kits come with a cleaning sheet, calibration sheet and a bottle of cleaning solution. The ADF kits contain two cleaning cloths, two feed pad replacements, two calibration sheets, a bottle of cleaning solution and one roller replacement. Bulk packs of both the calibration sheets and cleaning sheets are also available for purchase by scanner model.
While our maintenance kits are strongly recommended, a blank white sheet of 8×11 ½ sheet of paper will work in a pinch. For card scanners, fold the sheet of paper lengthwise to fit the scanner. Folding will suffice and it is not recommended that you attempt to cut the paper to size. To complete your calibration process, follow the instructions above using your blank sheet of paper.
For a visual demonstration, watch our video guides for step-by-step instructions on calibration and cleaning, and check out our video library on YouTube for more support related content. If you need any further help getting your Ambir products up and running, our support team is available live Monday-Friday, 8am-5pm Central, on our website chat feature and on the phone at (630)-530-5400 ext. 3.