How to Clean your AMBIR Sheetfed Scanner
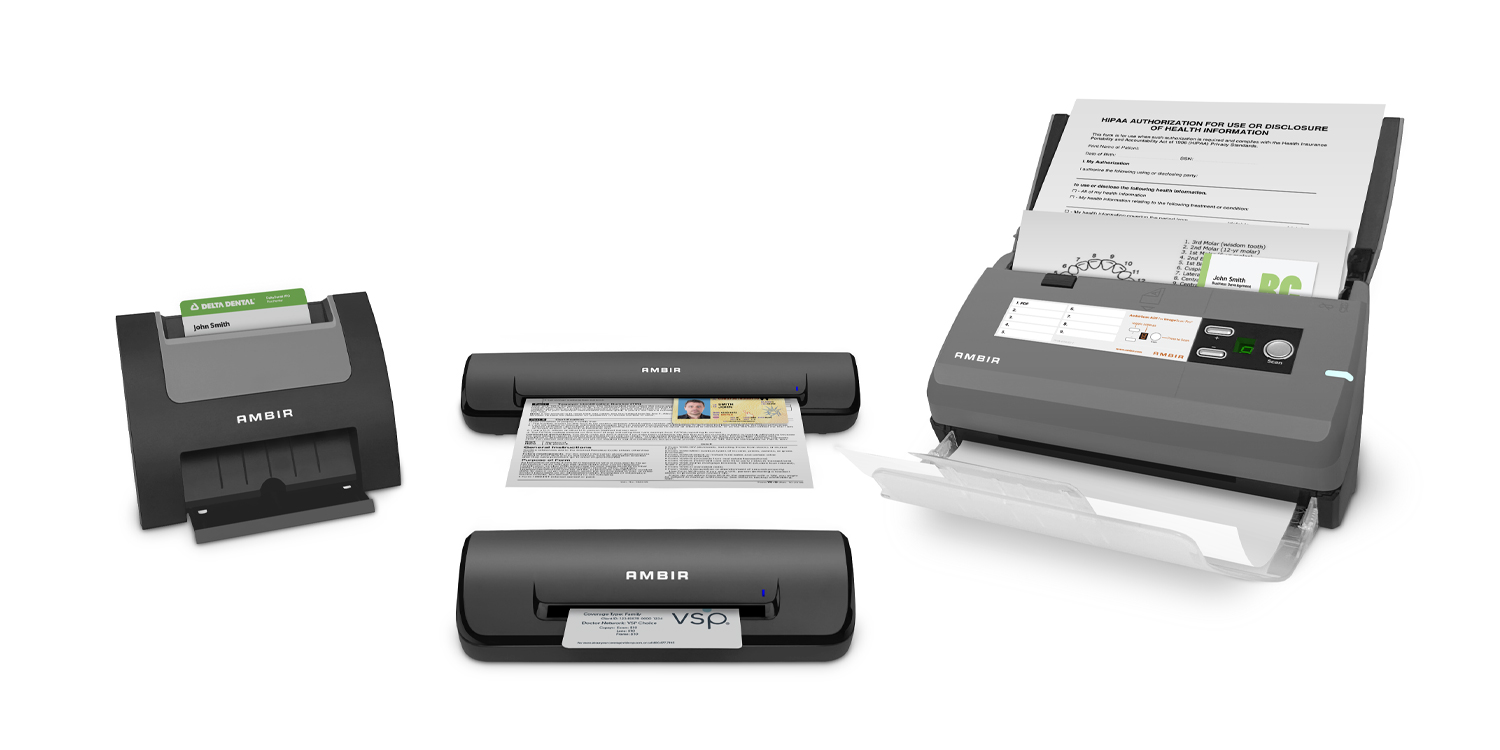
Getting the most out of your scanner comes with maintenance. Like any electronic, it occasionally requires cleaning. With sheetfed scanners, this cleaning routine can range from a daily wipe-down to a deep clean.
In order to properly clean your scanner, you’ll need an AMBIRscanner cleaning kit, which includes a cleaning sheet, spray and calibration sheet. Additionally, AMBIR has multiple resources on their website detailing the best ways to keep your sheetfed scanners up and running like they should.
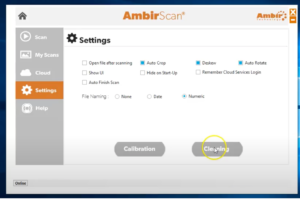
AmbirScan provides a “clean” button to make the process easy. This is accessed by double clicking the AmbirScan icon on your desktop. If you do not have the AmbirScan icon, you can download the software on AMBIR’Ssupport page and follow the instructions from there to get it set up.
Once your software is downloaded and open, you’ll need to navigate to the settings section and click on the “clean” button.
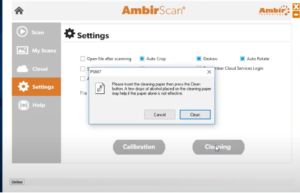
Once you’re in the settings category of AmbirScan, you’ll need a scanner cleaning sheet and solution. You can find both items in AMBIR’s scanner cleaning kit. The cleaning sheet and solution are specially designed to absorb dust and debris that typically gathers within scanners.
Once you’ve got your cleaning sheet, spray the cleaning solution onto it. Then, place the scanning sheet into the scanner and press the “clean” button to start the cleaning process.


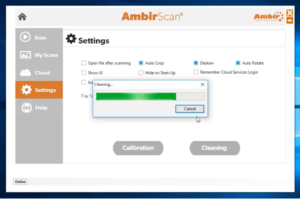
As the cleaning process begins, your screen will display a green loading bar. This will show where the scanner is in the cleaning process. Once this green bar disappears from your screen, the cleaning process is complete, leaving you with cleaner, more focused scanned images.

If you’d like to learn more about sheetfed scanner maintenance, browse through our website. From there, you can view our inventory, informative blog, and more. If you have any additional questions, call 1-630-530-5400 option 2 or send us a message through our online chat. Start improving your workflow practice now!


