How to Scan Your Contacts into Salesforce
Take your business to the next level. With one device, eliminate manual data entry error and automate your contact list management process. An Ambir scanner paired with our AmbirScan Business Card Software enables you to scan and digitize both business cards and documents for a quick and efficient upload to third party marketing and sales CRMs, like Salesforce.
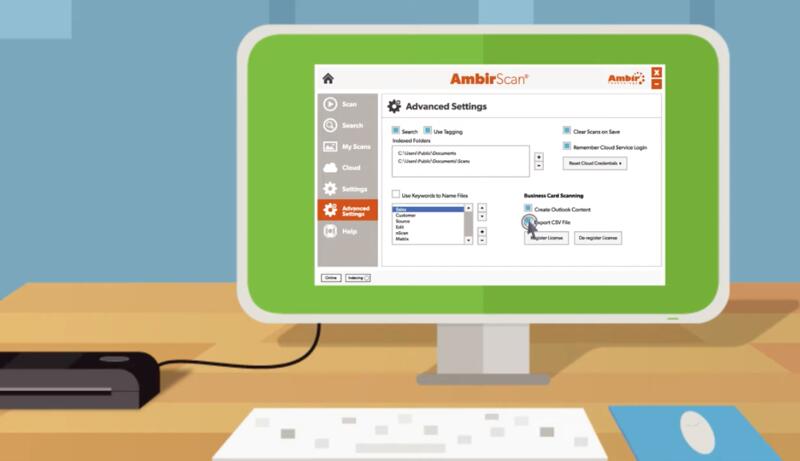
You want your contacts readily available at the click of a button. Using OCR technology, AmbirScan Business Card Software reads all of the information off of your scanned card and creates a CSV file to conveniently store and backup your data. From here, you can directly upload into Saleforce for maximum convenience. With AmbirScan, you are also able to search previous scans by keyword to effortlessly locate the file you need. It has never been easier to organize and keep track of your contact information.
Already own AmbirScan Business Card Software? Let’s get started.
To import your CSV contacts into Salesforce, follow the steps below:
- Log into Salesforce and select Setup from the main menu
- Search Data Import Wizard and select the option displayed
- Select Launch Wizard
- Select Accounts and Contacts or Leads
- Select Create New Records, Update Existing Records, or Add New and Update Existing Records
- Drag your CSV contact file into the “drag here” section of the screen
- Map any fields from the example that are not being mapped automatically
- Select Start Import
- Your contacts are now imported
For more information on AmbirScan Business Card Software, check out this short video below. For scanners, software and consumables, view our full product line here.


